Piece of Cake: Dessert to end all desserts
December 2, 2015
I think it’s fair to say that, besides the good old turkey, my favorite part of Thanksgiving is dessert. That includes everything from Jello to cheesecake to, of course, pie. Sometimes, though, one piece of pie just isn’t quite enough‚ — I know it wasn’t for me.
That’s why we have the cherpumple.
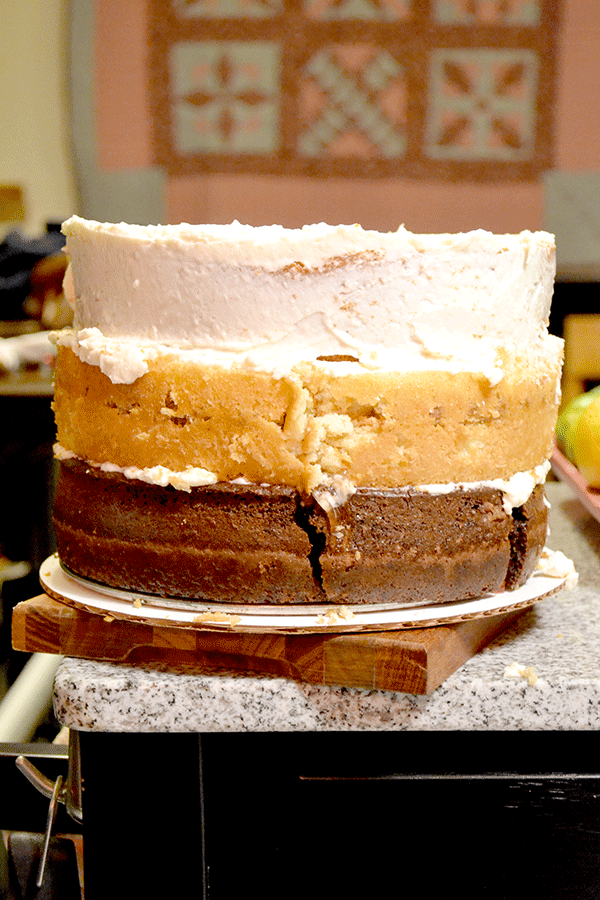
While it’s unknown when Charles Phoenix came up with this fascinating concoction, I’m sure thankful for its existence. What is it exactly? Well, imagine a cherry pie baked into a chocolate cake, a pumpkin pie baked into a spice cake and an apple pie baked into a white cake, all stacked on top of each other. Oh, and it has cream cheese frosting too.
So, here you go.
Cherpumple Cake
Start to finish: 7 ½ hours
Servings: too many
Here’s what you need:
-1 box chocolate cake mix (plus ingredients required for respective mix)
-1 box spice cake mix (plus ingredients required for respective mix)
-1 box white cake mix (plus ingredients required for respective mix)
-One 8-inch cherry pie
-One 8-inch pumpkin pie
-One 8-inch apple pie
-1 batch frosting of your choice (I used cream cheese)
Here’s the fun part:

If using frozen pies, bake each completely and allow to cool completely before removing them from the tins. If using premade pies, remove each one from the tin. Allow to cool completely.
Preheat an oven to 350 F and spray three 9-inch (wide) by 2-inch (high) pans with nonstick baking spray.
Prepare each cake’s batter according to the directions on the box.
Pour half of each batter into a separate cake pan.
Gently slide or drop each cooled pie into the pan with its coordinated cake better (listed above).
Fill each pan the with the rest of the respective batter.
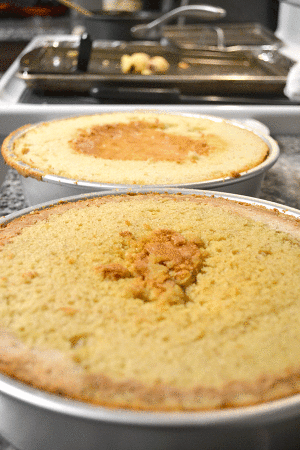
Bake each cake separately for 1 hour and 15 minutes, or until a toothpick comes out clean when inserted into the top section of cake.
Let each cake cool completely while still in the pan.
Level each cake using a serrated knife by running it along the top edge of the pan, as the cake will dome above when baking.
Carefully run a knife around the inside of the pan to loosen the edges of the cake. Then, carefully remove each cake from the pan.
Stack each cake on top of the other, putting a layer of frosting in between.
Decorate with remaining frosting as you wish.

Here are some tips:
- Take wooden dowels and insert them into your cake once stacked for extra support
- Use springform pans instead of regular pans in order to release the cakes easier
- I used Betty Crocker cake mixes since they tend to be very structurally sound but delicious at the same time
It takes some time, yes, but you can ask anyone in Mrs. Crosbie’s Silver Three AP Language and Composition class and they’ll tell you just how worth it it is. Until next week, fellow foodies.
Junior Laken Wagner has been spending time in the kitchen since she was five years old, where both baking and cooking have always filled her extra time. She enjoys baking more than anything else and can frequently be found decorating cakes or trying out new recipes.


