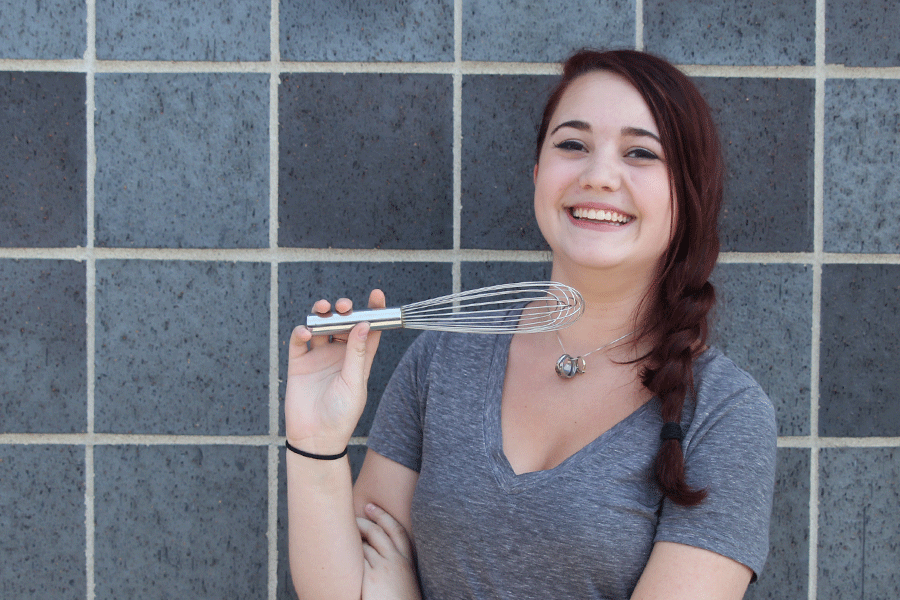
Piece of Cake: Taking the cake, part one
September 29, 2015
Alas, we have come to the point in the year where we begin to realize that our grades actually matter, that full five-day weeks of school are considered normal but still seem to be torture, that early release on Fridays already seem to be the only thing keeping us sane and that it’s about time I actually talk about cake on here.
That’s right, it’s time to make cake on Piece of Cake.
However, making a fully decorated cake isn’t really a “piece of cake”; in fact, it can actually be quite difficult and time consuming. That’s why I decided to use boxed cake mixes for it and also why this cake is going to be split into two different blog posts: the first (this one) being dedicated to making and stacking the cake, and the second (next week’s) being dedicated to decorating the cake.
This is going to be pretty lengthy, so let’s get started.
Marbled Cake for Stacking
Start to finish: 11 hours
Servings: 8-16 pieces
Here’s what you’ll need:
1 box Duncan Hines white cake
1 box Duncan Hines dark chocolate cake
2 cups water
¼ cup plus 2 tablespoons vegetable oil
6 eggs
1 cup all purpose flour
1 cup unsweetened cocoa powder
2 ½ sticks unsalted butter, softened
5 cups powdered sugar, sifted
1-2 teaspoons vanilla extract
1-2 tablespoons milk
Here’s the fun part:
Preheat your oven to 350 F and line the bottom of four 9-inch baking pans with parchment paper.
Using nonstick baking spray, grease the sides of all four pans.
Divide the flour and cocoa powder between the pans, then shake gently to evenly coat the sides.
In the bowl of a mixer on low, combine the white cake mix, 1 cup water, 3 tablespoons oil and 3 eggs until all the ingredients are wet.
Turn the mixer onto high and mix for 2 minutes.
Repeat the first two steps with the dark chocolate cake mix and the remaining water, oil and eggs.
Distribute both batters evenly between the four pans, creating layers by alternating scoops of chocolate and white batter in the pans.
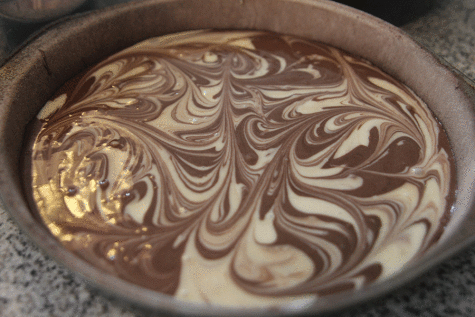
Using either a skewer or a toothpick, create swirls in the batter to marble the cake batter.
Pick up and tap the bottom of each pan on your countertop a few times to pop any air bubbles in the batter.
Bake for 25-30 minutes or until a toothpick comes out clean when you poke the middle of the cake. Let cool on the counter for at least 30 minutes once done.
In the bowl of a mixer, while the cake is baking, whip the butter on high for 5 minutes.
In 1-cup batches, add 3 cups of the powdered sugar, mixing thoroughly after each addition.
Add the vanilla and milk in and mix thoroughly (you can add more or less depending on how thick the frosting is).
Add the remaining powdered sugar and mix carefully until the buttercream is stiff, but spreadable.
Add coloring to the frosting now if you’d like, although it is not needed for this recipe.
Carefully flip each cake out of the pan and onto a cake board, peeling the parchment paper off the bottom of the cakes.
Using a serrated knife, level each cake to 1 inch tall and set aside.
Using an offset spatula, place a dollop of frosting onto the center of a cake board, then place one of the layers of cake on top of it.
Spread ¼-½ cup of frosting on top of the first layer of cake, making sure that it is even and reaches the edges of the cake.
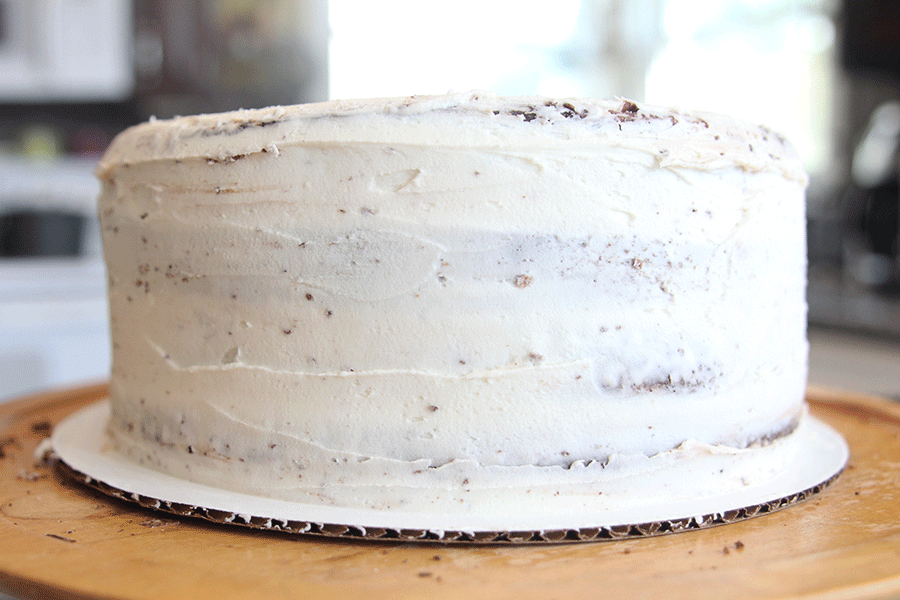
Place another layer of cake directly on top of the first and repeat the frosting process until the last layer of cake has been placed. Do not frost the top of the cake yet.
Depending on how much frosting you have left, use either half or all of the remaining frosting to crumb coat the cake.
After making sure the cake is straight and smooth (you can use your offset spatula for that), put it in your freezer for a minimum of 8 hours, but overnight if possible.
Here are some tips:
- Make sure you use Duncan Hines cake mix and follow the amounts of water, oil and eggs I gave. This creates a more stable cake for stacking and is the best method when using boxed cakes for this sort of project
- Use a 1-ounce ice cream scoop when distributing the batter between the pans — it will create more layers and a more complex pattern in the final product
- Replace ½ cup of the powdered sugar in your frosting with unsweetened cocoa powder to make a chocolate buttercream
Yes, it takes a lot of patience, and yes, it is worth it in the end. Next week I’ll talk to you about the glory of fondant and decorating cakes, which is personally my favorite part. So, I’ll see you then, fellow foodies.
Junior Laken Wagner has been spending time in the kitchen since she was five years old, where both baking and cooking have always filled her extra time. She enjoys baking more than anything else and can frequently be found decorating cakes or trying out new recipes.


